2025 marked 20 years since work first began on the concept of our MIDAS booking system, with the very first version “0.01” coming into existence on 10th December 2005.
None of those very early 0.xx versions were ever made public and were instead used to test and refine the functionality of the software and to fix bugs.
The first “public” release, v1.00, came just a few months later in early 2006, which means that 2026 will mark MIDAS’ “official” 20th anniversary.
Our software certainly has longevity and a proven track record, and two decades later remains in active development. We regularly release booking software updates with new and improved features, and in this post we thought we’d summarize some of the highlights over the past 12 months.
💬 Unrivalled Customer Support
As well as the peace of mind our longevity gives to users, we know that customers also care about good customer service. This is just one of the areas that our customers regularly praise us for.
At the start of the year, we reviewed how responsive our support service had been over the previous 12 months, and you can read our customer support performance review.
♻️ Reduced Environmental Impact
Given our high levels of service, we clearly care about our customers. But we also care about the environment too.
As with any online or cloud-based business, computer and server equipment runs on electricity.
The Website Carbon Calculator is an innovative initiative which analyzes five key metrics to estimate the carbon emissions of any website.
Back in 2021 we were “greener” than 86% of all websites globally.
By 2025, we are now greener than 91% of all websites, and have reduced our carbon footprint by 5% over that period.
🇺🇸 US Tariffs
In April 2025, US President Donald Trump announced he would be imposing new ‘Tariffs’ on the majority of countries in the world, including the UK (where we’re based).
Concerned US customers were reaching out to ask whether the cost of MIDAS was affected by these tariffs. The good news was that tariffs only applied to physical or tangible goods – they didn’t apply to “services”, and therefore our prices for US customers were unaffected.
Politics aside, here’s what else happened in MIDAS in 2025…
⏱️ Staying “Signed In”
In April 2025, MIDAS v4.29 introduced a brand new “Stay signed in” option that truly allowed users to remain signed in between sessions. This was a game-changer for many who were frustrated at having to sign-in each time they opened their browser.
Of course remaining signed-in was something that could already be achieved with Single Sign-In (SSO) support via Active Directory – something MIDAS has supported for some time.
🔐 Improved Single Sign-On (SSO) support
In August 2025, for v4.40, we improved Single Sign-On support by expanding support to include SAML 2.0 Identity Providers.
🚪 Venues, Rooms, Spaces, and more
When we first came up with the concept of MIDAS two decades ago, we needed a term to refer to the “spaces” being booked. If you don’t know, MIDAS was originally written for a school environment, and we didn’t want to use “room” for facilities like sports halls or dance studios. We settled on the generic term “venue” to refer to a “bookable space” within the software, and this terminology has been in use ever since.
However, this year we introduced a brand new setting to replace the term ‘venue’ with something more applicable to what each organization uses MIDAS for. So if you’re a bowling alley, you can change the term to “lane”. Or if you’re running a complex of recording studios, you can change venue to “studio”.
🧾 Invoice Improvements
Invoicing is arguably the one area in MIDAS that receives the most user suggestions for new and improved features. That’s certainly not to say that the extensive invoicing capabilities of MIDAS aren’t good enough – it’s simply that every organization invoices differently – there’s no “standard that everyone uses”. That’s even more true as we have customers in dozens of countries around the world, and accounting/audit rules differ between jurisdictions.
Our most recent improvement to invoicing in 2025 was to support setting tax rates to three decimal places. Now, in most places in the world, tax rates are given to two decimal places, but there are actually a few exceptions!
Here are some examples:
- Washington (United States):
Washington law allows certain local sales/use tax rate increases in 0.001% increments. - California (United States):
California’s district sales taxes commonly use 0.125% increments. - New York City (United States):
8.875% is the combined sales tax rate in New York City. It comprises 4.00% (New York State sales tax), 4.50% (New York City sales tax), and 0.375% (Metropolitan Commuter Transportation District (MCTD) surcharge).
Allowing for tax rates to be specified to three decimal places, ensures MIDAS can accurately support regional and local tax rules across different jurisdictions.
This year, we also made invoices searchable and allowed the order of invoice items to be changed. Plus we provided greater control over unsent invoices by allowing an administrator to specify a date each month when unsent invoices are automatically sent to customers. This improvement better accommodates organizations that typically invoice on a specific date every month.
⬇️ Import Improvements
The ability to import data into a MIDAS resource scheduling system is crucial. Many customers who make the switch to MIDAS naturally wish to import data from their previous venue booking system.
The import tool in MIDAS allows for this. However, every booking software application is different – there’s no standardized format for how an application chooses to store and present data.
So our import tool strives to accommodate as many different data formats and “peculiarities” as possible for maximum compatibility when migrating from other booking systems.
In 2025, we introduced support for importing ‘dynamic’ .csv files. Traditionally, a Comma Separated Values (or CSV file) contains “one record per line”.
Some booking systems export to .csv files in a non-standard way, where data may actually be split across multiple lines. MIDAS can now support importing such files.
MIDAS also now supports importing multi-venue bookings. Traditionally, each record or “row” in a CSV file containing bookings should equate to a single booking (i.e. one row = one booking). However, some booking systems, such as Skedda, export multi-room bookings (where a booking takes place across multiple bookable spaces) as single records.
When importing such data into MIDAS, the software can now correctly identify and process such records.
📋 Logging and Audit Improvements
Every MIDAS booking system includes a “Recent Activity” log. In this audit log, every user action which takes place in the booking system is timestamped and logged. This allows administrators to keep track of all activity occurring within the system.
We’ve made a number of improvements in this area in 2025, including:
- The Recent Activity log now differentiates between custom booking and client fields
- The Recent Activity log now differentiates between removed obsolete and unsent invoices
- Changing MIDAS core settings is now recorded to the Recent Activity Log
- Dynamically duplicated or moved bookings are more clearly identified in the Recent Activity log
👩💼New User Permissions
Audit logging is certainly very useful – but we also provide administrators the ability to set an extensive range of permissions to individual user accounts. In 2025, we’ve added two additional new user permissions:
📲 User interface improvements
The user interface – or UI – of MIDAS has evolved considerably since 2005. This has been driven by advancements in new web technologies, browsers, and style trends. At the same time, we also know that functionality and familiarity are also key drivers for our users.
We’ve made a number of UI improvements to MIDAS this year, including;
- A simplified Manage Booking Types screen
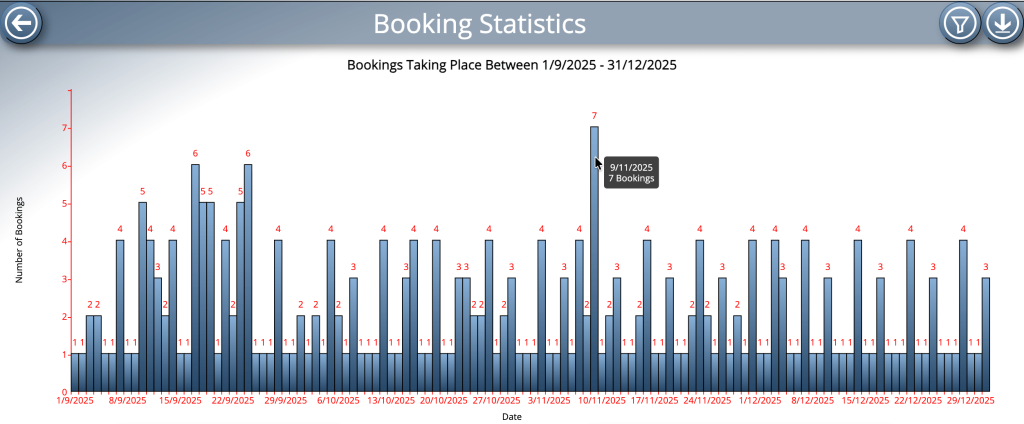
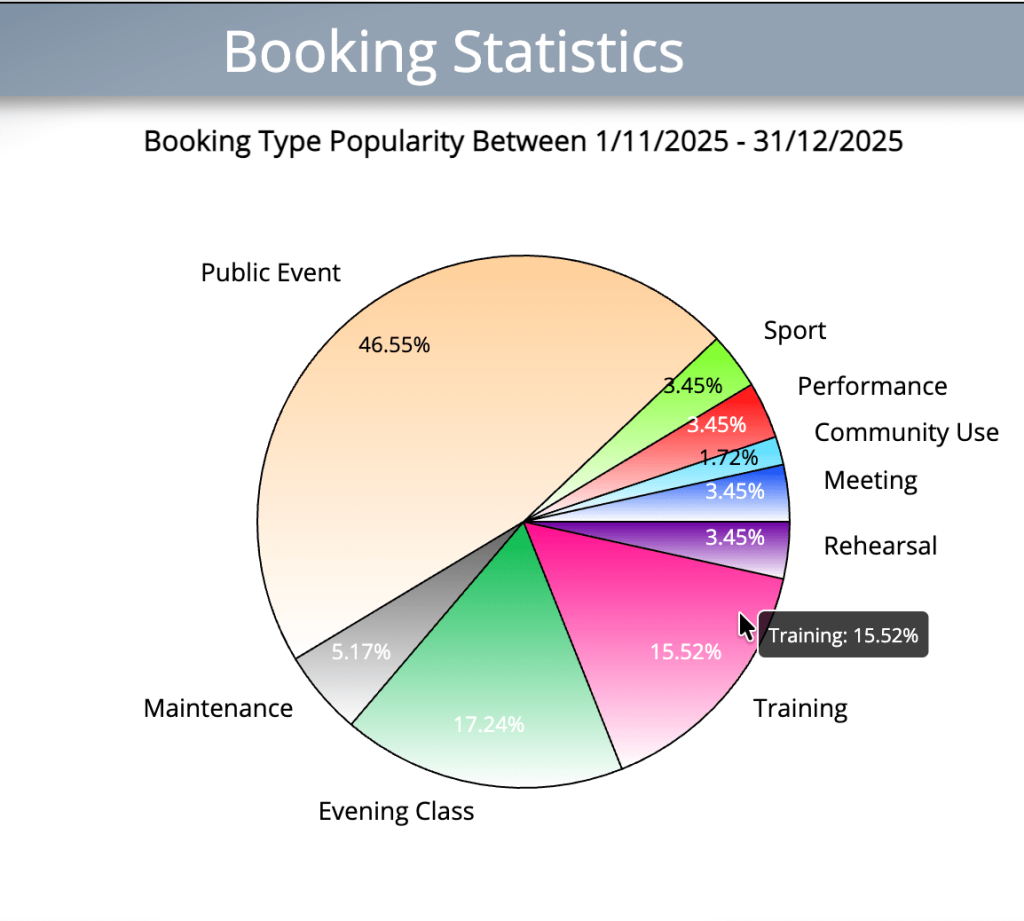
- Various UI improvements to graphs on Statistics screen
- Tooltips are now shown when hovering over graphs on Statistics screens
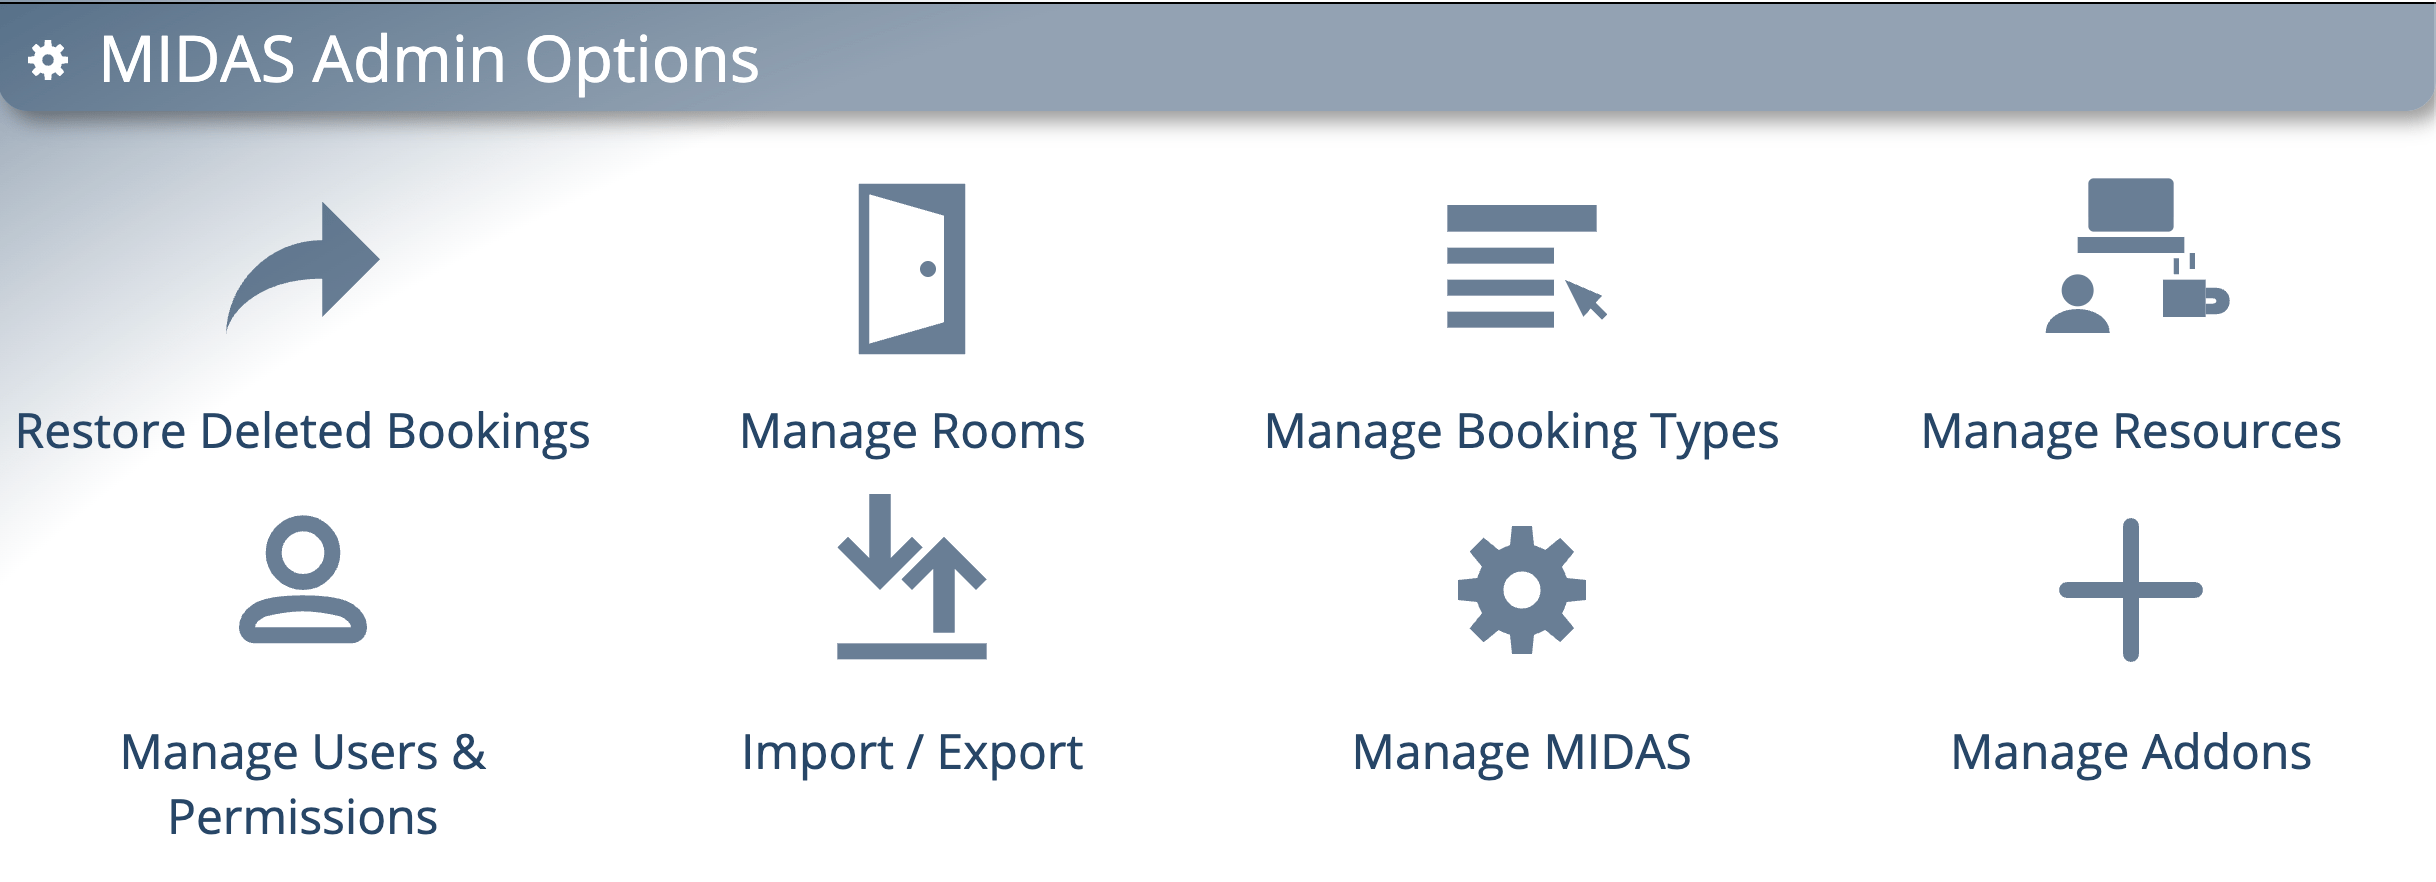
- New icons on the Manage MIDAS screen
- Several other UI/UX improvements
♿️ Accessibility Improvements
Accessibility on web pages and web apps simply wasn’t a “thing” back in 2005 when MIDAS was born. Today, it’s not only important, it’s an essential consideration for many.
We first built in keyboard shortcuts to MIDAS well over a decade ago, and not long after introduced a special “high-contrast” visual theme too. Since then newer technologies and accessible web standards have emerged, and we continually strive to make MIDAS more accessible with every update.
This year, we’ve made a number of tweaks including better contrast for text on the booking availability grid display on public booking/request screens. We’ve also revamped the included help documentation for our most recent update, v4.41, to make it more accessible.
✅ Optimizations
Whilst many of the changes we introduce with each new version are visible, many take place behind the scenes.
We frequently review the code that makes up our software, and we’re always looking for ways to make it more efficient and run faster. A couple of years ago we experimented with using AI to assist with code optimization, and the results were impressive.
We continue to use AI to assist with this task this year to realize some small performance optimizations Rest assured, we certainly don’t let AI loose on the source code, and a human review of all AI generated code optimizations is carried out before the changes are accepted.
In addition to code optimization, we also look at database query optimization. These are the “commands” that MIDAS sends to the backend storage database, and the data it receives back in response. Communication with the database is actually one of the biggest factors that can affect performance, and so any gains in this area are always welcome.
We’ve made a number of optimizations to both code and database queries in 2025 to further improve performance and responsiveness of our software.
➕ New Add-ons
This year saw the introduction of two exciting new optional “add-ons” for MIDAS, allowing you to;
- Create Zoom Meetings from bookings (optional Zoom Meetings add-on)
- Post Watch Notifications to a Discord server (optional Discord add-on)
🔎 Looking ahead to 2026
As we mentioned at the top of this article, MIDAS officially celebrates its 20th anniversary in 2026, so watch this space for exciting updates in the coming months…

