As we wave goodbye to 2022, we thought we’d take a few moments out to reflect on our year here at MIDAS HQ.
If you’ve been a valued customer of ours for a while now, you’ll know that we typically release significant “feature rich” new updates to our room booking software at least three times a year. This isn’t a new thing either – we’ve been adding exciting new features to our software ever since 2006!
2022 has seen some great new additions to our software for our customers to benefit from.
Here’s a brief recap of some of the major new features, in case you missed any of our previous posts and announcements during the year…
Send invoices as PDF attachments
In December with MIDAS v4.32, there’s now the option to send invoices directly to your clients as PDF attachments, rather than “inline” within the body of an email.
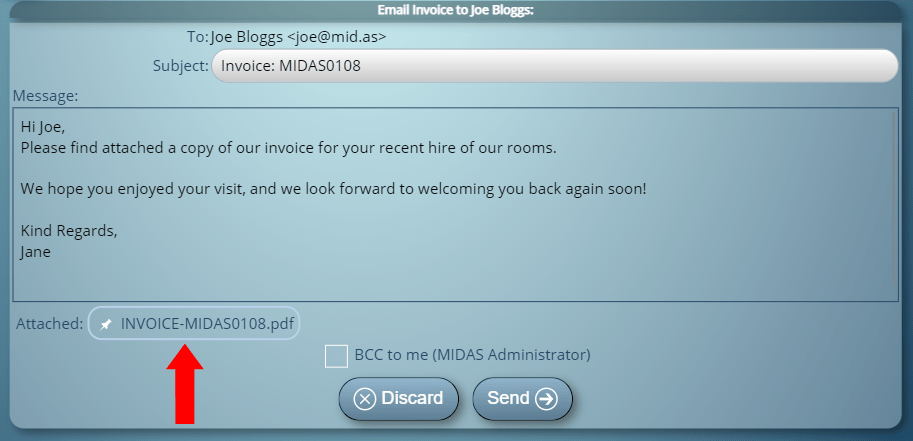
Read more in this blog post.
Set room rates based upon the time of day
Also, for v4.32 in December 2022, you can now set charging rates based upon a booking’s start time. This new addition now makes it easier than ever to charge different rates for daytime and evening bookings.

Read more in this blog post.
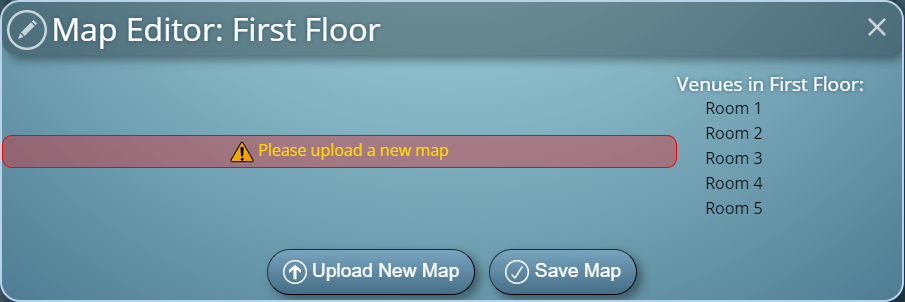
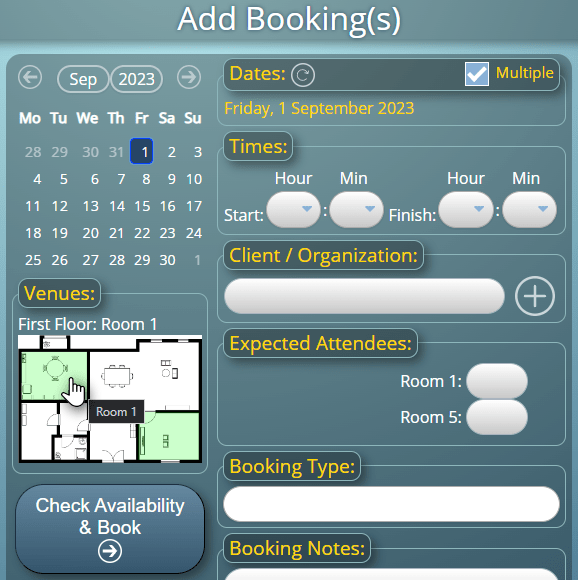
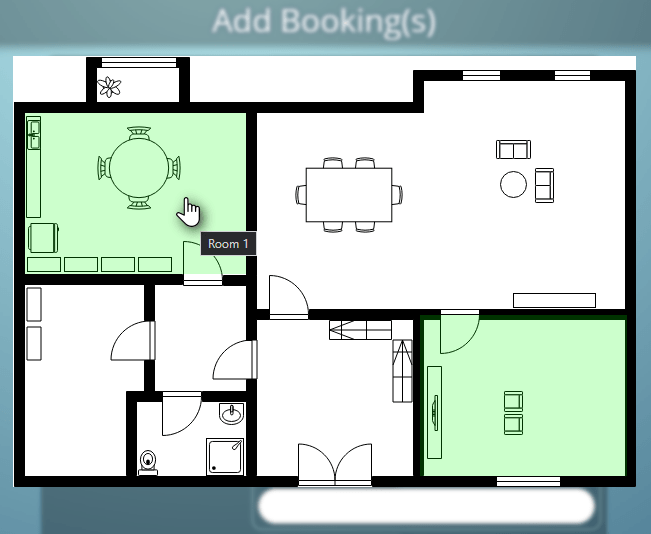
Visual booking from a floor plan or map
In September 2022, for MIDAS v4.31 we introduced a new “Floor Plan” feature. This allowed you to upload a map of your facilities to allow users to be able to visually book by simply clicking on a space on the map.
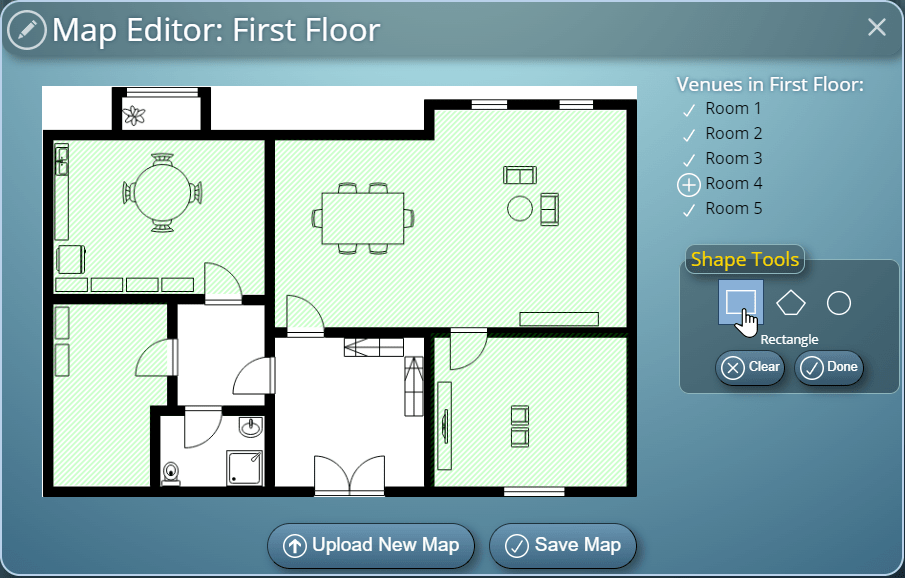
Read more in this blog post.
Other new features in MIDAS during 2022
- New: Review previously sent internal messages
- New: Option to prompt for detailed client entry when adding bookings for new clients
- New: Option to export invoices to Zoho Invoice
- New: Email compatibility mode setting for improved rendering of invoices on older email clients
- New: Option to auto-approve booking requests based upon their booking type
- New: “Unfinalize” Invoices tool
- New: Remove Obsolete Invoices tool
- New: Maximum bookings allowed per user per calendar month/year options
- New: Bulk “Remove Unsent Invoices” tool
- New: Options to include more information with resources on invoices
Onwards to 2023…
Whilst we may have been developing MIDAS for over 16 years now, as you can see from all of the above (and from our changelog too), our commitment to making our software even better is unwaning.
This will of course continue during 2023, with lots more exciting new features in the pipeline.
Remember too, that many of the new and improved features you see added to our software come as a direct result of feedback and suggestions from our worldwide customer base.
So if you’ve got an idea for something that could potentially make MIDAS work better for your organization, please don’t hesitate to let us know.
Finally, we’ve like to end this post by wish you a very healthy, peaceful, and prosperous New Year from all of us at MIDAS HQ.