MIDAS v4.42 brings several important security enhancements. Here’s what’s changed and why it matters.
Argon2id now the preferred method of password hashing
For many years MIDAS has utilized “bcrypt” to store password hashes. While “bcrypt” is still accepted industry practice, newer encryption methods like “Argon2id” offer improved protection.
“bcrypt” is computationally expensive. This means it takes a significant amount of processing time to compute each password hash. bcrypt also includes a configurable “work factor” controlling how “computationally expensive” each calculation is.
Back in 2017, a “work factor” of 10 was widely considered by security experts to be sufficient at the time, and this is the factor we used in MIDAS.
By 2020, computing power had evolved and so “best practice” was to upgrade to a “work factor” of 12, which we transparently rolled out to MIDAS for our v4.25 update that year.
Now in 2026, we’re firmly in the quantum computing and AI age. While bcrypt is still considered secure, it is only “computationally expensive” from a processing (CPU) perspective.
Newer methods, like “Argon2id”, are both processor-intensive and memory-intensive, and so offer an even greater line of defense against brute-forcing password hashes.
We’ve implemented Argon2id for MIDAS v4.42. End users won’t see any difference, but password hashes stored in each MIDAS system’s database are now more secure than ever, and will be automatically updated the first time a user signs in to v4.42.
Self-Hosted customers: You’ll need to install the Perl module “Crypt::Argon2” if you wish to take advantage of this security enhancement. If this module isn’t available on your server, MIDAS will fall back to using bcrypt.
Option to sign out a user everywhere when maximum number of failed sign-in attempts reached
One of the existing security features in MIDAS is the ability for the software to automatically ‘lock’ accounts after a configurable number of failed sign-in attempts. Account access can then be quickly restored by an administrative user, or via a link that MIDAS will email to you if your account becomes locked in this way.
An account becoming ‘locked’ due to a high number of failed sign-in attempts prevents further sign-in attempts being made on that account. Until now, any existing active sessions that the user may have were allowed to continue unaffected.
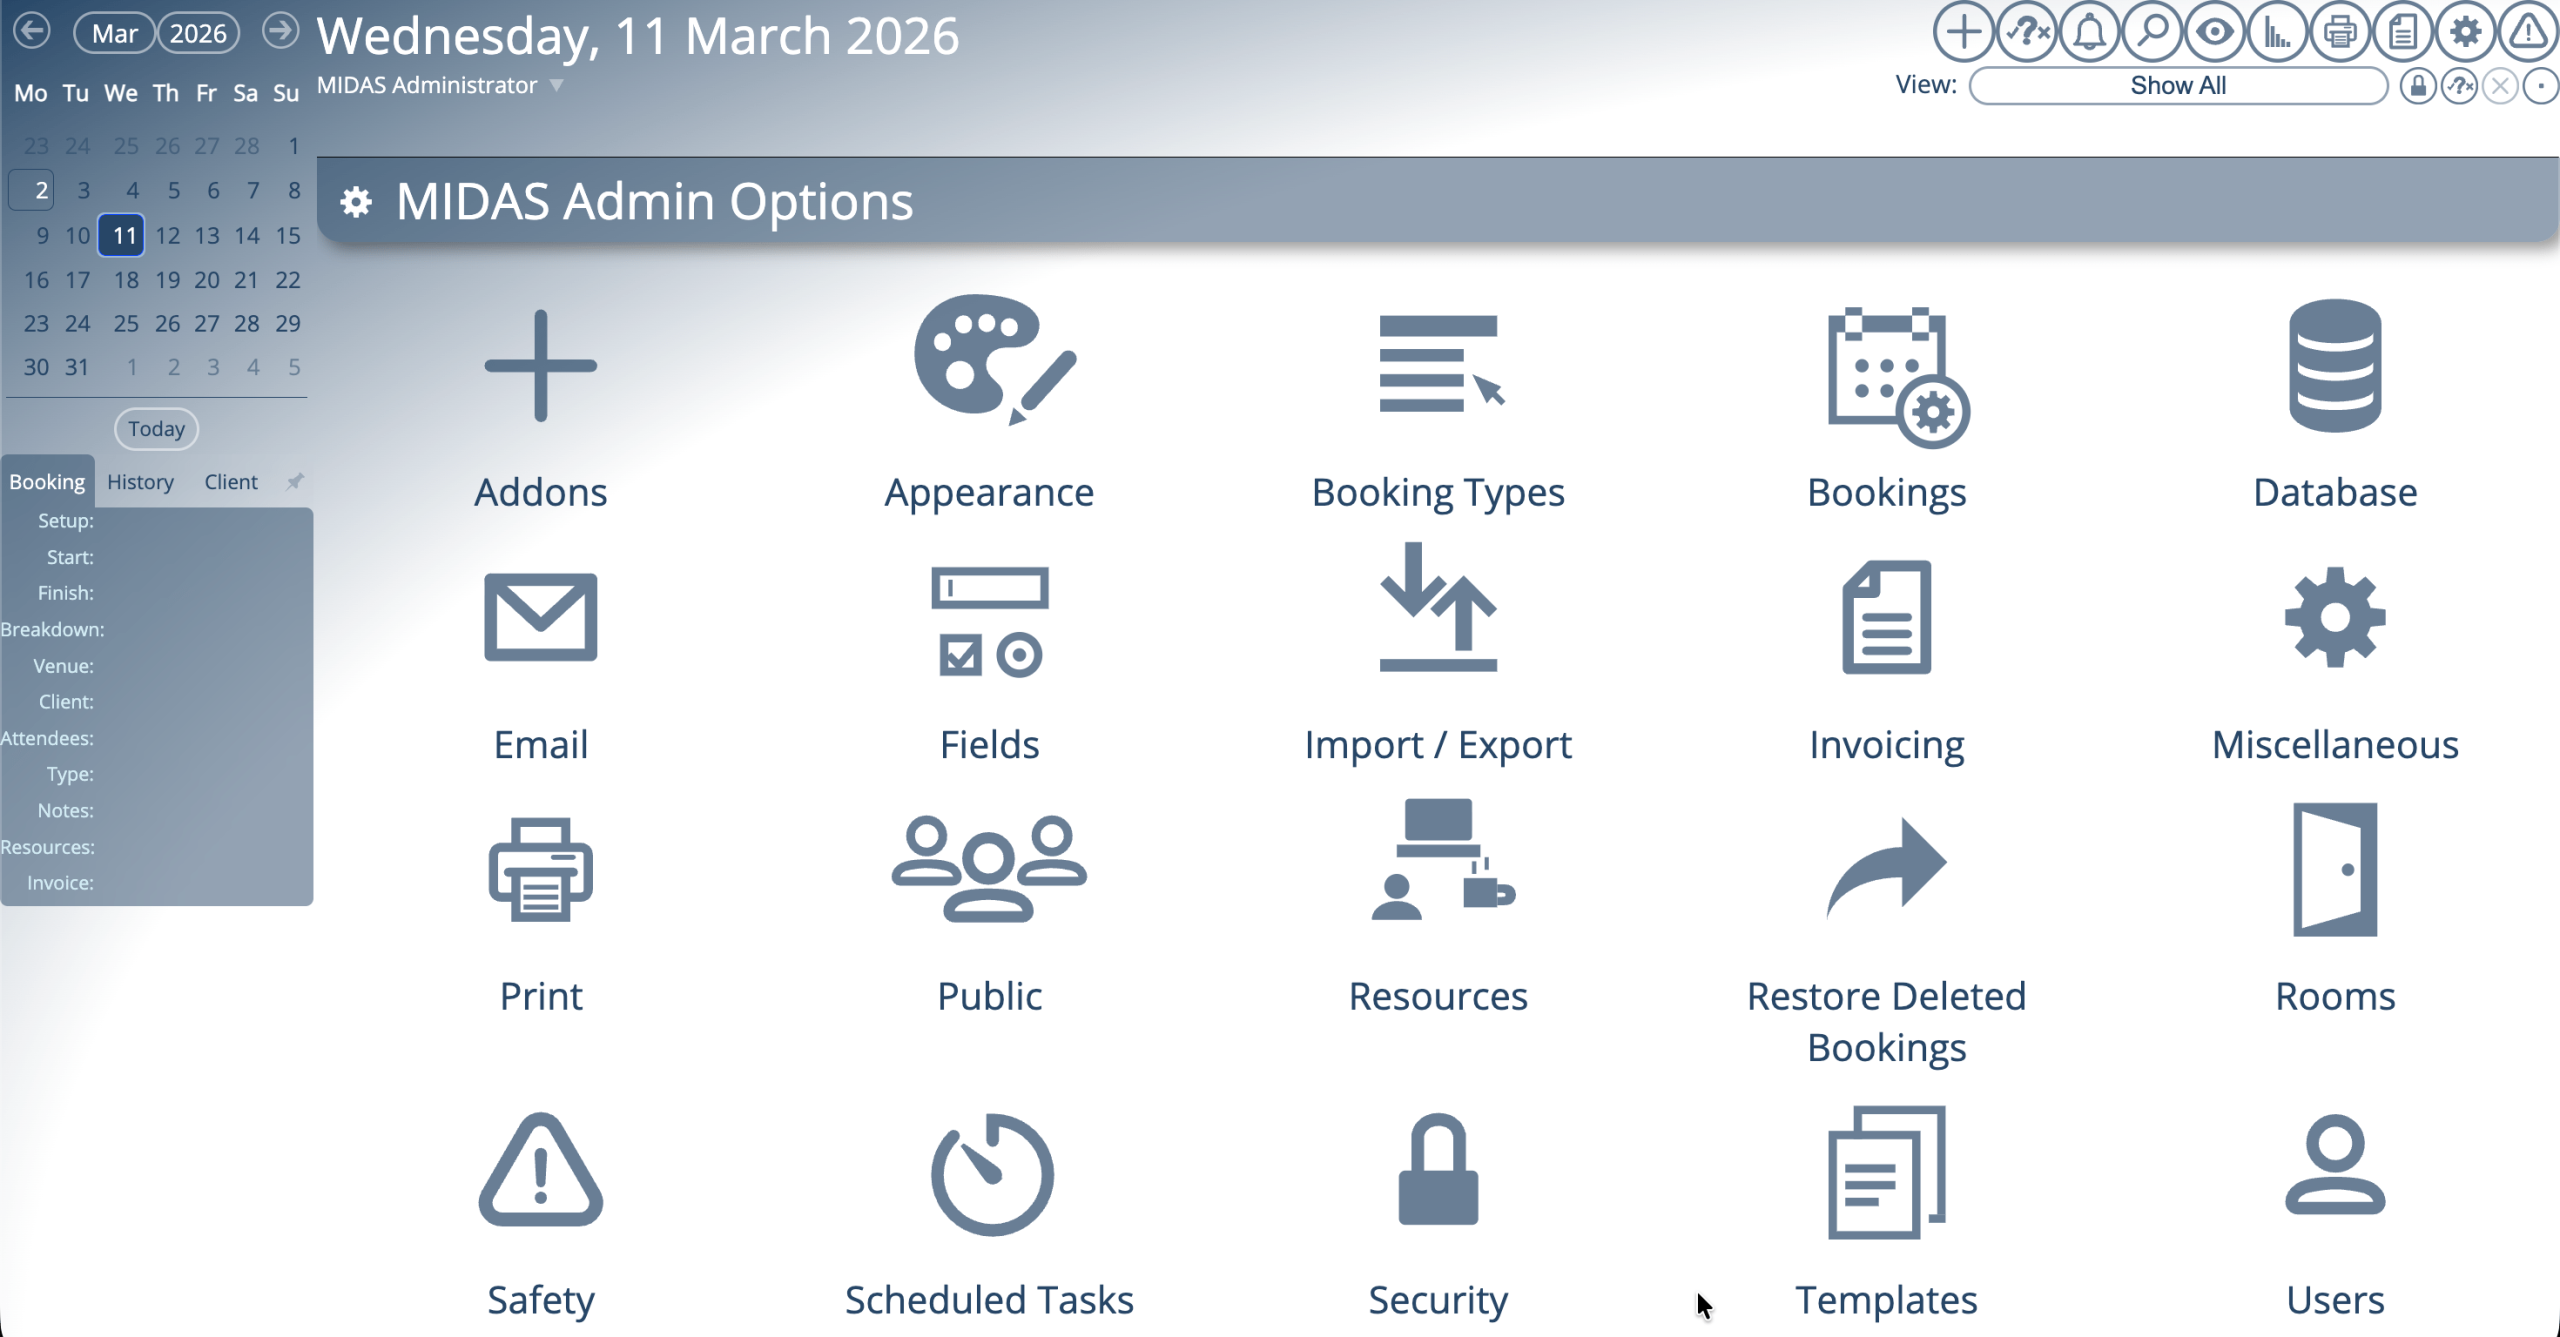
For MIDAS v4.42, we’ve introduced a new security setting (found under MIDAS Admin Options → Security) that, if enabled and a user account becomes automatically ‘locked’ due to a high number of failed sign-in attempts, all active sessions for that account will be automatically terminated as well.
Suspending a user account instantly expires all active sessions for the user
If an administrator manually suspends a user account, MIDAS will now also expire all active sessions for that user. Previously, if an account was manually suspended, it wouldn’t affect any currently active sessions — now it does.
Security Fixes
We’ve also addressed a handful of security and account-related bugs for v4.42 which were discovered by our team…
Fixed: Possible to bypass forced password expiry
One of the “legacy” settings in MIDAS is the ability for administrators to routinely force users to change their password. Enabling this option isn’t something that we recommend. Indeed, this is considered bad practice, as forcing users to regularly change their passwords actually harms rather than improves security.
Despite that, some organizations still insist on routine password change policies, and therefore, we’ve had to retain this option in MIDAS.
MIDAS v4.42 fixes a small issue related to this, whereby since v4.39, if a user is forced to change their password due to it having expired, the user could easily bypass this requirement by simply hitting reload/refresh in their browser when prompted to set a new password. We’ve resolved this for v4.42.
Fixed: Weak passwords were allowed when passwords were reset
MIDAS includes a visual strength indicator when entering a new password. Very Weak, Weak, and Common passwords are blocked and aren’t allowed. However, a small bug existed that could allow a weak password to be chosen during a password reset. This has been resolved for v4.42.
Fixed: Not possible to add new user accounts in suspended state
Administrators have extensive control over the permissions that can be assigned to each individual user account. Individual user accounts can also be quickly ‘Suspended’ by an administrator. Until now, however, a small bug prevented new user accounts from being added in an initial ‘suspended’ state. This has now been resolved for v4.42.
3rd Party Deprecations and Updates
MIDAS includes a small number of 3rd party components, and it’s important to us that we use the latest versions of these wherever possible.
To that end, for MIDAS v4.42 we’ve updated jQuery to v4.00 and jQuery-Autocomplete to v1.5.0.
We’ve also deprecated qTip2, as this is no longer maintained by the developer. qTip2 was used in MIDAS for dynamic tooltips, like those you see when you ‘hover’ over the name of a venue in the booking grid.
Instead, we’ve built our own dynamic tooltip system from the ground up for v4.42.