
How to embed a MIDAS calendar in WordPress
WordPress is perhaps the most common and well known CMS (Content Management System), but there are many alternative CMS' available. For example, if you're using Joomla! we have a guide for that too!
If your website uses a different CMS system, the basic principles here may be similar, but you may need to refer to your providers own documentation for assistance embedding an IFRAME into your website.
Step 1: Locate the page/post in which your wish to embed a calendar
In your WordPress site, locate the page or the post into which you'd like to embed a monthly overview calendar of bookings. For this example, we're going to use the following basic WordPress page: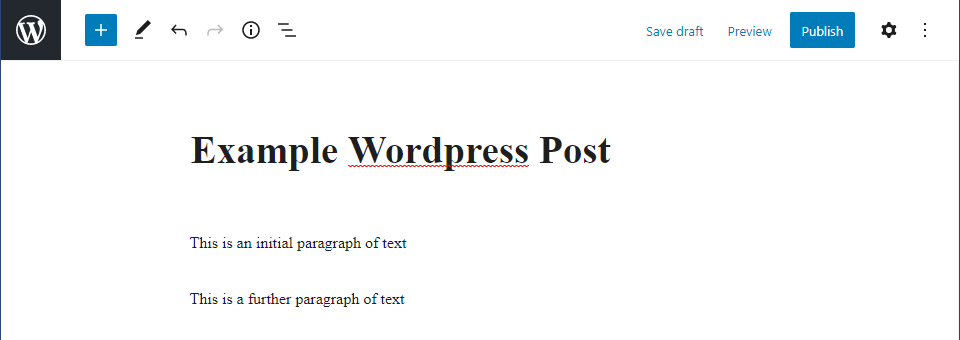
Step 2: Add a Custom HTML block
At the point at which you'd like to embed the calendar, click "Add Block". In this example, we're going to be embedding the calendar between two existing paragraphs of text: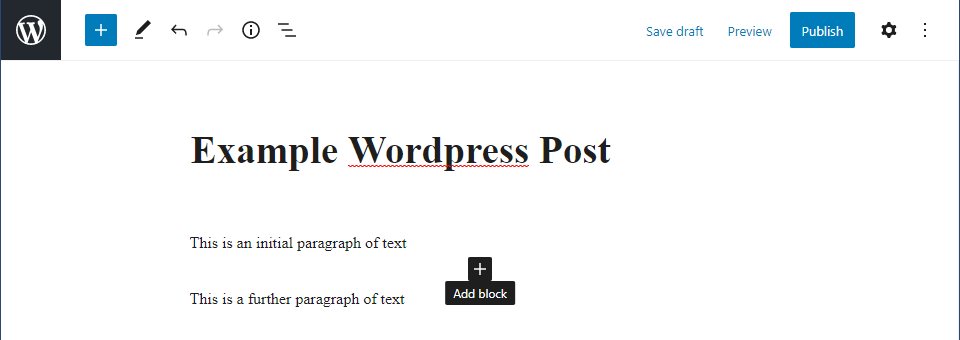
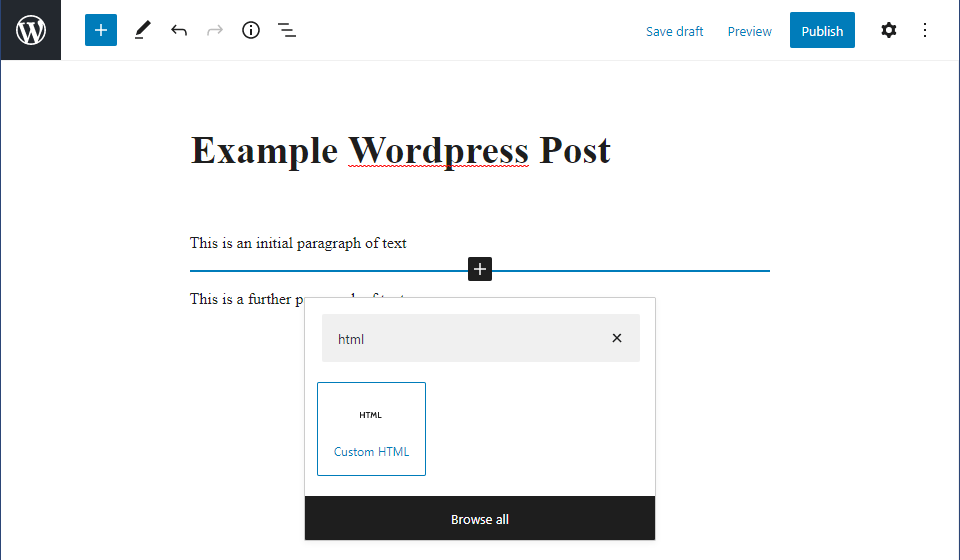
Search for and select the "Custom HTML" block in the list of available blocks:
Step 3: Add IFRAME code
Once the Custom HTML block is added, you'll see a space in which to write HTML code: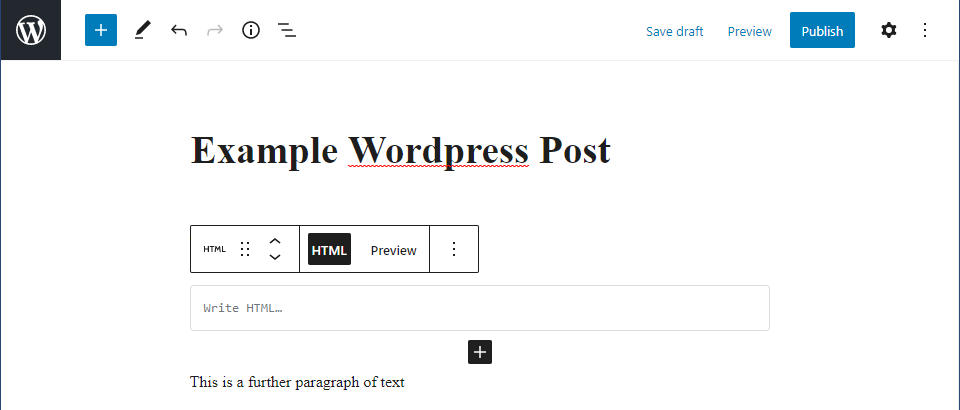
Insert the following into this box:
<iframe src="https://your_midas_url/calendar.pl" style="width:100%;height:550px;border:0"></iframe>
(replace "your_midas_url" with the URL of your MIDAS system)
For this example, we're going to use the online demo MIDAS system:
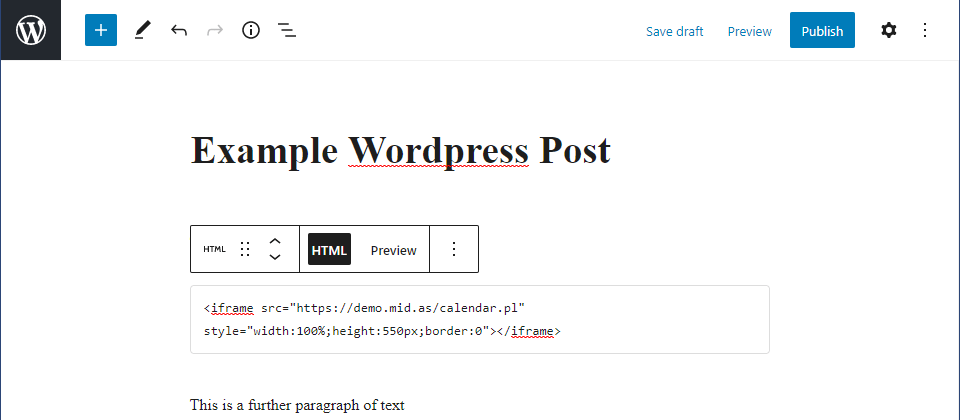
The "width:100%" value tells WordPress that we want our embedded calendar to span the entire available width. The height value lets us specify the overall height of our embedded calendar (px = pixels). "border:0" tells WordPress not to draw a box/border around our embedded calendar.
Step 4: Preview and Save
Switch to the "Preview" tab directly above the Custom HTML box to preview our embedded calendar:
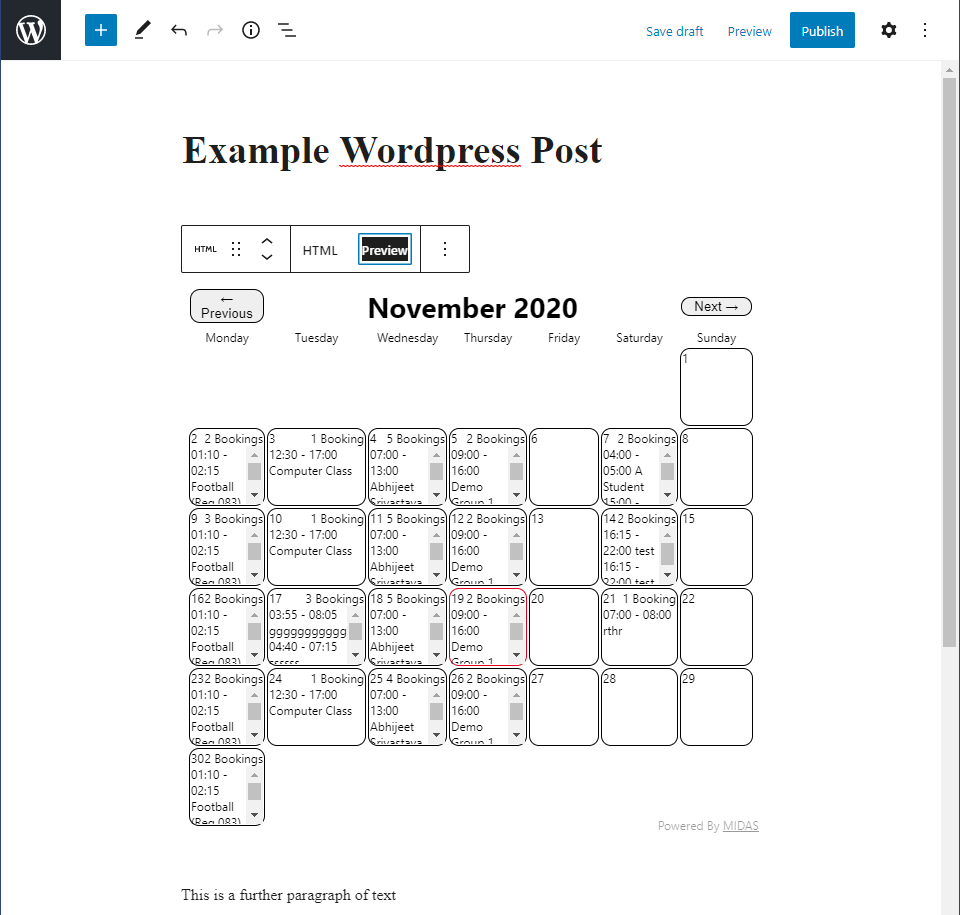
You can then click the main "Preview" link near the top-right of the screen to preview the entire page as it will look on your website, and click Publish/Update to make the changes to your WordPress page/post changes go live.
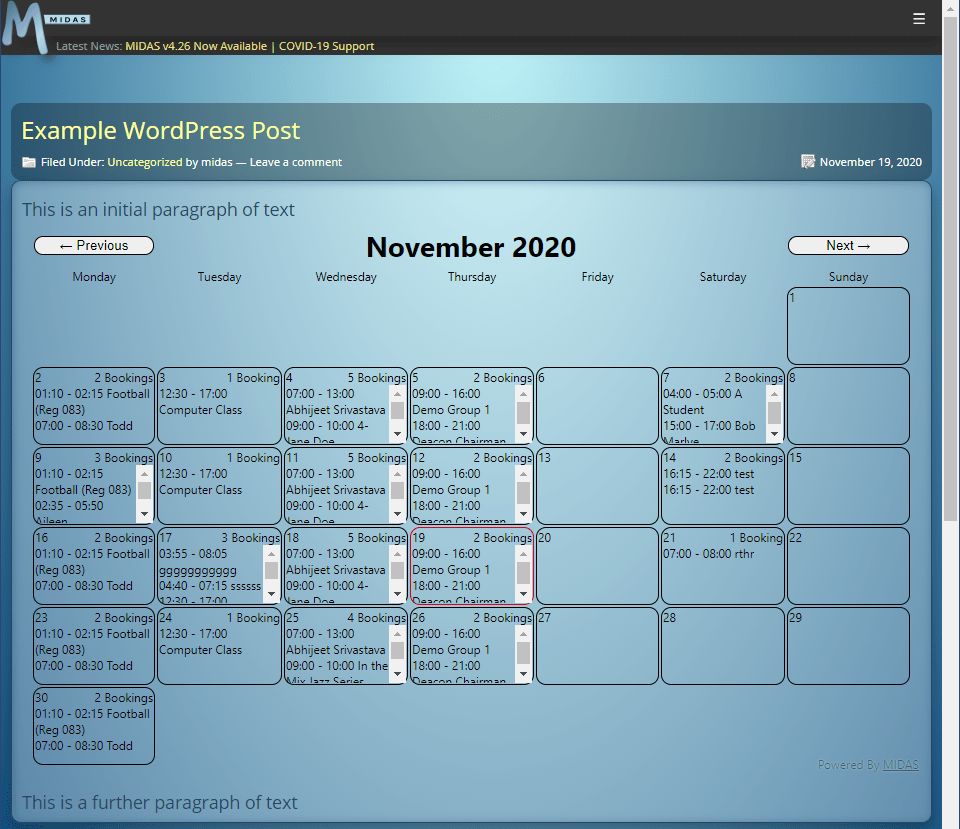
Here's how our example test page would look on our blog (which uses WordPress):
← Return to the Knowledge Base