
How to enable IIS on Windows
For our downloadable "self-hosted" version, you'll need to install it yourself on a suitable web server.
Did you know Windows comes with a free built-in web server installed?
The Windows IIS (Internet Information Services) server is disabled by default, but may be quickly enabled by following the simple steps below.
Looking for an alterntative to an IIS web server on Windows? Try Apache instead.
Table of Contents:
- Step 1 - Open Windows Features
- Step 2 - Select Features
- Step 3 - Apply Changes
- Step 4 - Provisioning Complete
- Step 5 - Start IIS
- Step 6 - Test IIS
Step 1 - Open Windows Features
Click the Start button and begin typing "windows features" until the "Turn Windows features on or off" option appears, and select it: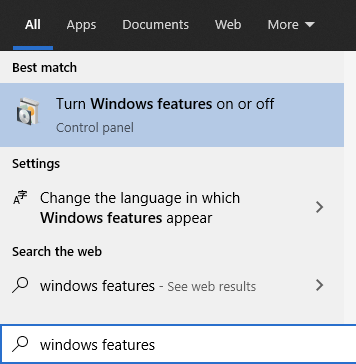
Step 2 - Select features
Scroll down and tick the "Internet Information Services" option: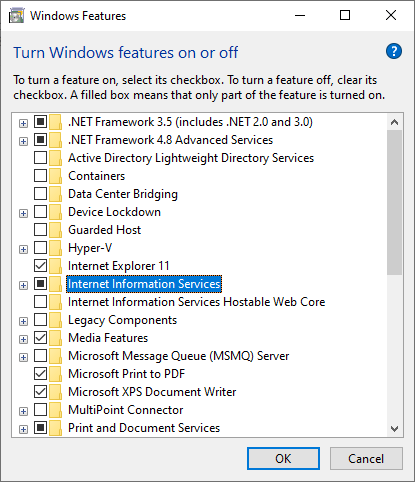
Expand the feature by clicking the small "+" to the left of the box you just selected.
Further expand the "World Wide Web Services" and then the "Application Development Features" sub menus, and tick the "CGI" option:
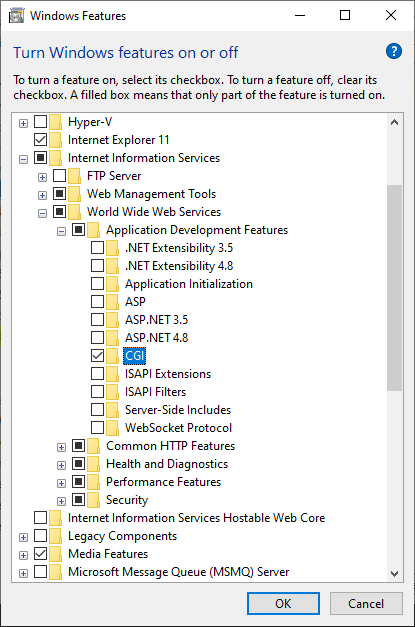
If you don't select this CGI option, then when you come to configure IIS for Perl you may receive errors about required modules not being in the module list.
Step 3 - Apply Changes
Click OK, and a progress dialog will appear whilst Windows enables the features you've selected: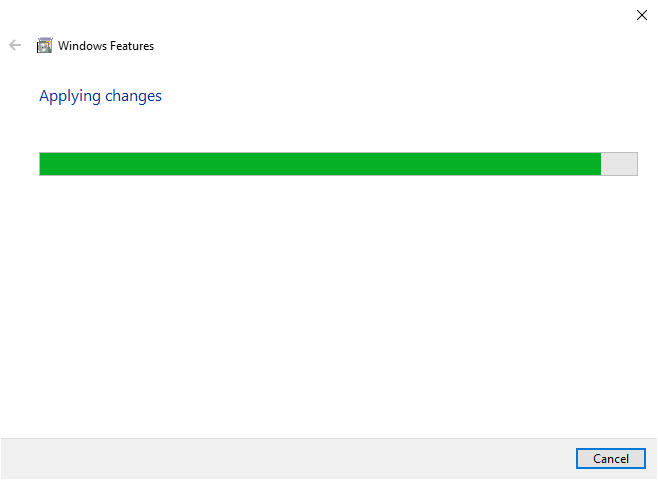
Step 4 - Provisioning Complete
Once provisioning of the selected features is complete, the dialog will show: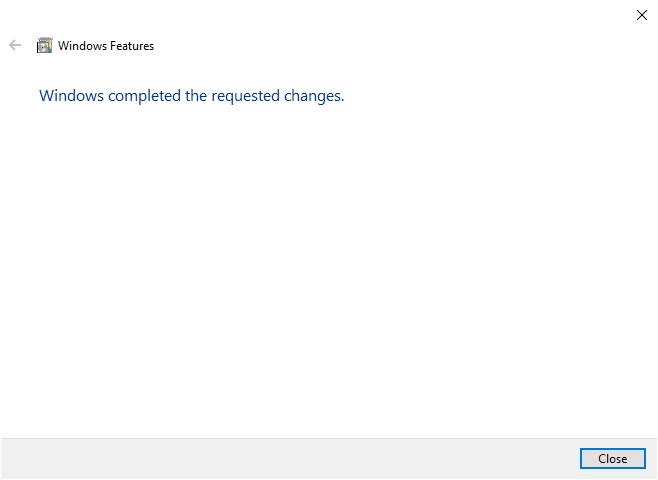
Now IIS has been enabled, you'll now need to start your web server...
Step 5 - Start IIS
Press your Windows key + R (or Start Menu → Run) to open the Run dialog.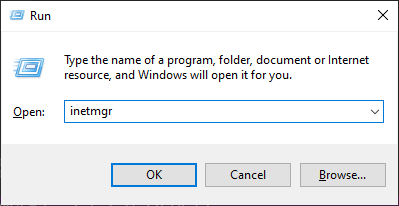
In the Run dialog type "inetmgr" and press Enter/Click OK.
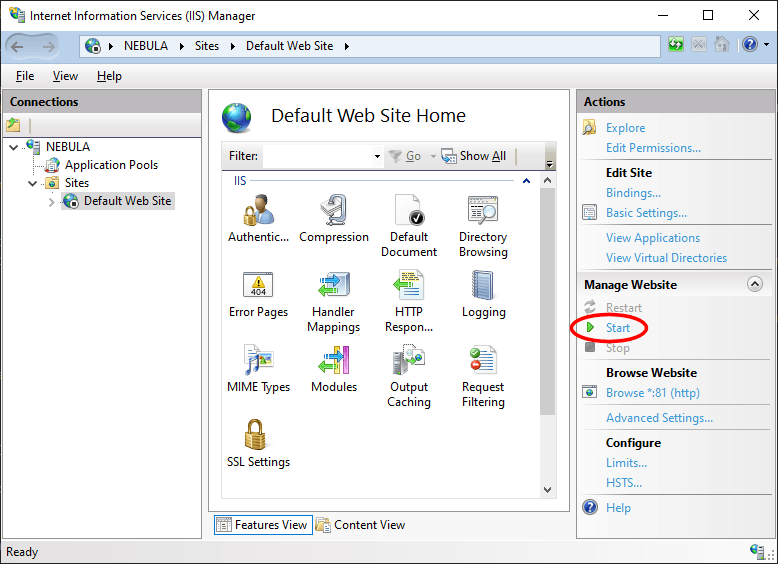
In the Internet Information Services (ISS) Manager window, select the "Default Web Site" from the left panel, and then click "Start" under the "Manage Website" actions in the right panel:
Step 6 - Test IIS
Open your web browser and navigate to 127.0.0.1. If IIS is up and running you should see a welcome screen, such as: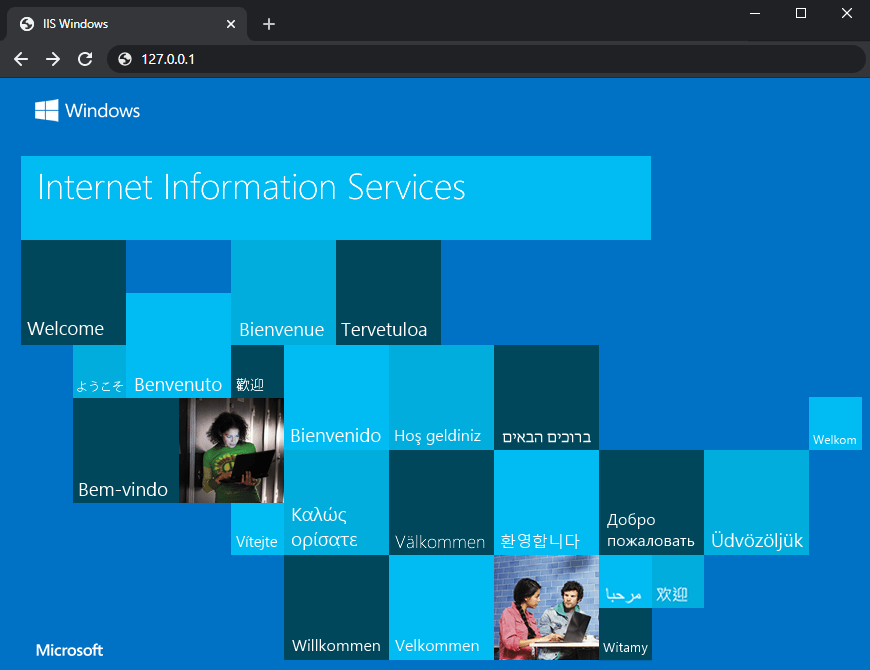
Now that you have a web server installed, next you'll need to install Perl and a database before you can install MIDAS.
← Return to the Knowledge Base