
How to install & configure Strawberry Perl on Windows
It applies to self-hosted installations of MIDAS booking software on Windows-based servers only, and outlines how to install Strawberry Perl on Windows. Other Windows distributions of Perl (such as ActivePerl) are also available.
Please note that this article is provided "as is" and is correct at time of writing. For further assistance installing/configuring Perl, please refer to the vendor's own documentation/support.
This article assumes that you've already successfully completed our previous "How to install & configure Apache on a Windows server" guide.
Contents:
- Step 1 - Download Strawberry Perl for Windows
- Step 2 - Install Strawberry Perl
- Step 3 - Test
- Step 4 - Install Additional Modules
Step 1 - Download Strawberry Perl for Windows
Strawberry Perl may be freely downloaded from strawberryperl.com. If you're running a 64-bit Windows operating system, download the MSI edition listed in the "Latest Release" box on the Strawberry Perl site: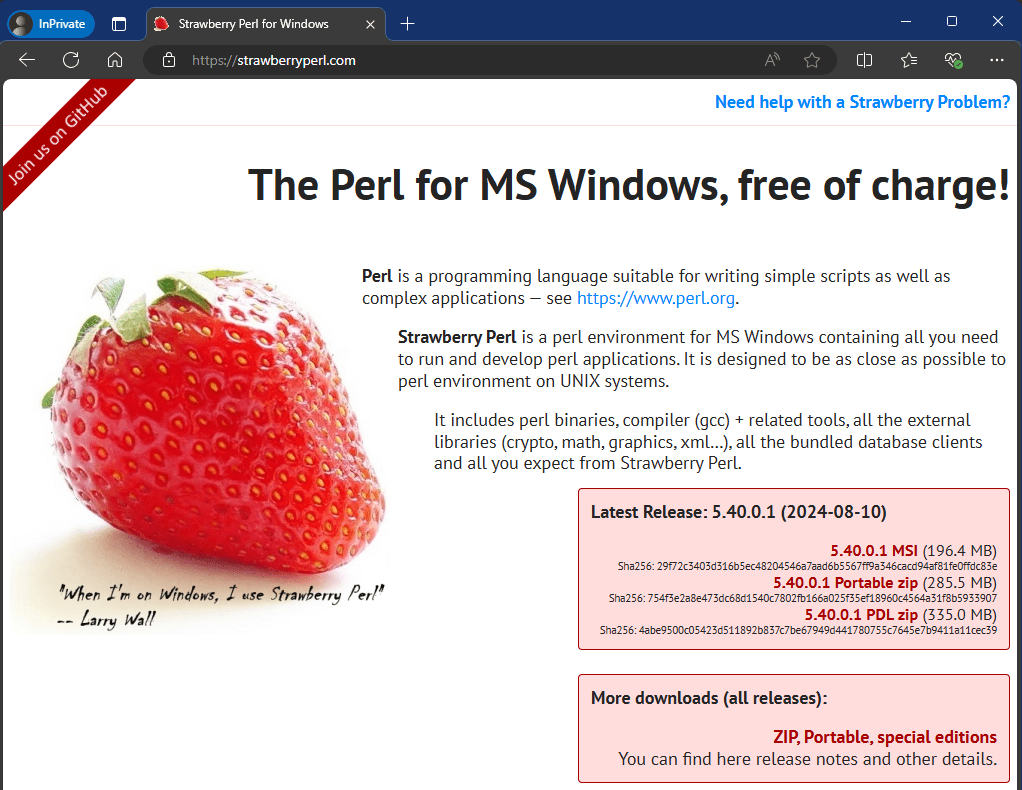
If you're running on an older 32-bit Windows OS, you'll need to instead download an older version of Strawberry Perl by selecting the "Zip, Portable, special editions" link in the "More Downloads" box. On the following screen, select the latest 32-bit MSI edition in the "Recommended Downloads" section.
Step 2 - Install Strawberry Perl
Run the Strawberry Perl Installer and read & accept the License Agreement. You'll then be prompted for a location to install Strawberry Perl to (the default is C:\Strawberry):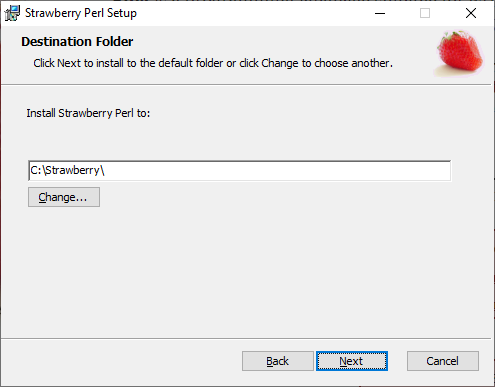
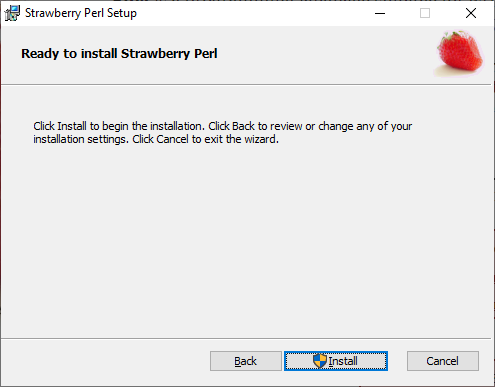
Click "Next", and the installer will inform you that it's ready to install. Click "Install":
The installer will then install Strawberry Perl...
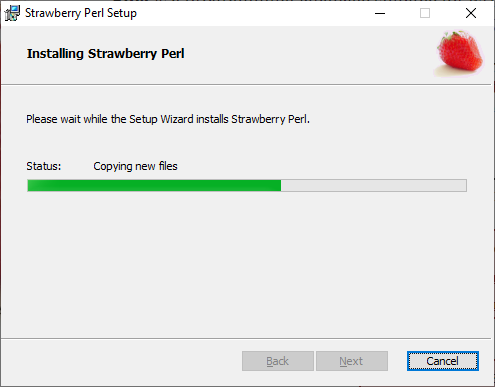
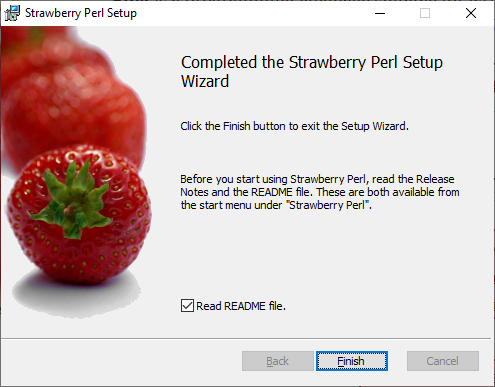
...and will inform you once installation is complete:
Step 3 - Test
Once the Strawberry Perl installer has complete, let's test Perl to ensure that it's working correctly.Open a standard text editor and add the following two lines:
print "content-type:text/html\n\nHello World!";
Save this file as "test.pl" to C:\Apache24\htdocs (or D:\Apache\htdocs, etc depending upon where you installed Apache)
Next, in your web browser, navigate to http://127.0.0.1/test.pl, and you should then see the words "Hello World!" in your browser:

...which indicates that Perl has been correctly installed!
If however, you see the entire contents of your test.pl file, then Apache didn't know how to handle your .pl file, and so instead of "executing" it, displayed its contents as plain text instead. In which case, please check Step 3B of our "How to install & configure Apache on a Windows server" guide.
If all you see if a server error when access test.pl in your browser, it's likely that either you've not correctly configured Apache to handle .pl files and/or to execute cgi scripts (please refer back to our "How to install & configure Apache on a Windows server" guide), or there's a typo in your test.pl file.
Step 4 - Install Additional Modules
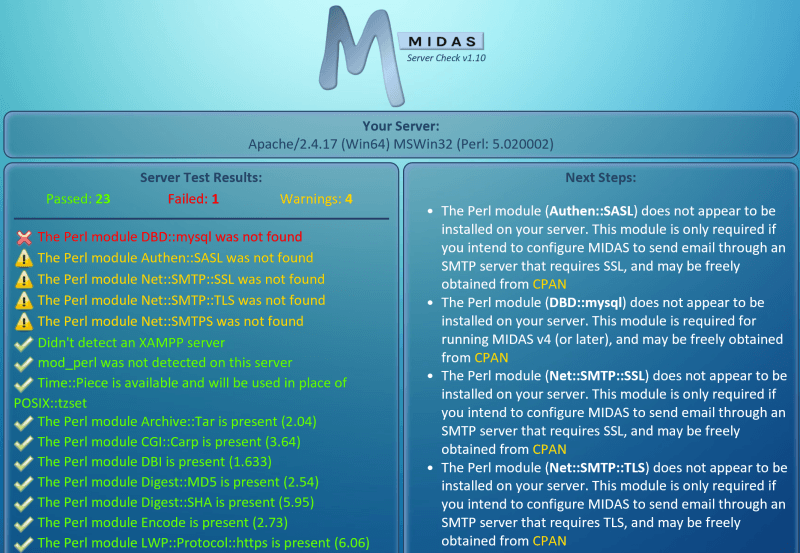
Once you have your test.pl script displaying "Hello World!" in your browser, it's now time to download and run our MIDAS "Server Readiness" tool.This utility will analyze your current server setup and ensure that you have all the necessary Perl modules required for running a self-hosted edition of MIDAS. Our Server Readiness Tool may be freely obtained via the MIDAS Server Requirements page.
Save/upload the utility to the same server location as your previous "test.pl" script, and then access it via your browser in the same way.
Let the Server Readiness tool run, and make note of any missing required Perl modules:
To install any additional modules with Strawberry Perl, please refer to our "How to install Perl modules via Strawberry Perl" KB article.
Re-run the MIDAS Server Readiness tool again in your browser to check that the previously missing modules have now been installed.
Also In This Series...
Part 3: How to install & configure Maria DB on a Windows server
← Return to the Knowledge Base