Table of Contents
← Hide Table of Contents
 MIDAS PRTG Sensors Addon: Configuration & Usage
 MIDAS PRTG Sensors Addon: Configuration & Usage
This key helps prevent unauthorized access to the sensor data generated by the addon, and may be changed at any time. If you change this key, your MIDAS PRTG Sensors will stop working until you update the Authorization Key contained within the sensor URL in your PRTG installation.
To start actively monitoring your MIDAS system from within your PRTG installation, first decide which parameter(s) you wish to monitor from the sensor table below:
| Sensor Code | Type | Sensor Description |
| AGE | Integer | Number of days since the release of the MIDAS build you're currently running |
| ALS | Integer | Number of currently active sessions |
| ALU | Integer | Number of users currently signed in |
| BAT | Integer | Number of bookings added today |
| BKU | Integer | Number of hours since last backup |
| BLD | Integer | MIDAS build number |
| BMT | Integer | Number of bookings modified today |
| BDT | Integer | Number of bookings deleted today |
| BTP | Integer | Number of bookings taking place today |
| DBS | Float | Current database size (in MB) |
| ERR | Integer | Number of errors in your MIDAS debug log |
| EST | Integer | Number of emails sent today |
| FLA | Integer | Number of failed login attempts today |
| ICT | Integer | Number of invoices created today |
| LOK | Integer | Number of locked/suspended user accounts |
| LUP | Integer | Number of days since last MIDAS update check |
| NBF | Integer | Number of future bookings |
| NBO | Integer | Number of bookings |
| NCL | Integer | Number of clients |
| NOR | Integer | Number of organizations |
| NUS | Integer | Number of users |
| NVE | Integer | Number of venues |
| OBR | Integer | Number of outstanding booking requests |
| SOS | Integer | Number of staff on site |
| VER | Float | MIDAS version number |
| VIS | Integer | Number of visitors on site |
Next, construct a URL containing your authorization key and a comma separated list of the parameters you wish to monitor as follows:
https://your_midas_url/prtg.pl?key=authorization_key&sensors=comma_separated_list_of_sensor_codes
So for example, if you wish to monitor the number of currently signed in user accounts in your MIDAS system ("ALU") and the number of failed login attempts today ("FLA") in a single PRTG sensor, the resulting URL would be:
https://your_midas_url/prtg.pl?key=authorization_key&sensors=ALU,FLA
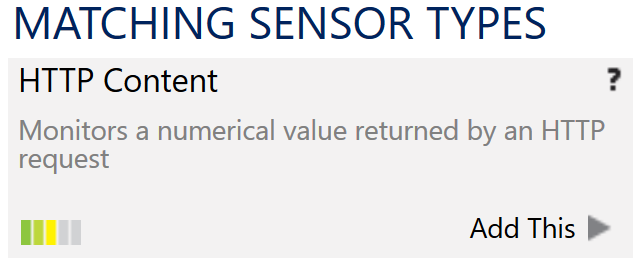
Next within your PRTG installation, create a new "HTTP Content" Sensor:
In the Sensor Settings dialog, set the following:
- Sensor Name: The name for your PRTG sensor i.e. "MIDAS"
- Script URL: The URL to your MIDAS PRTG Sensors addon you've constructed above, i.e. "https://your_midas_url/prtg.pl?key=authorization_key&sensors=ALO,FLA"
- Value Type: Select "Integer" if you're exclusively monitoring MIDAS parameters which return integer values, otherwise select "Float".
- Number of Channels: IMPORTANT: Set this to the same number of sensor codes present in the comma separated list you constructed for the above URL. In the above example, this number is "2" ("sensors=ALO,FLA")
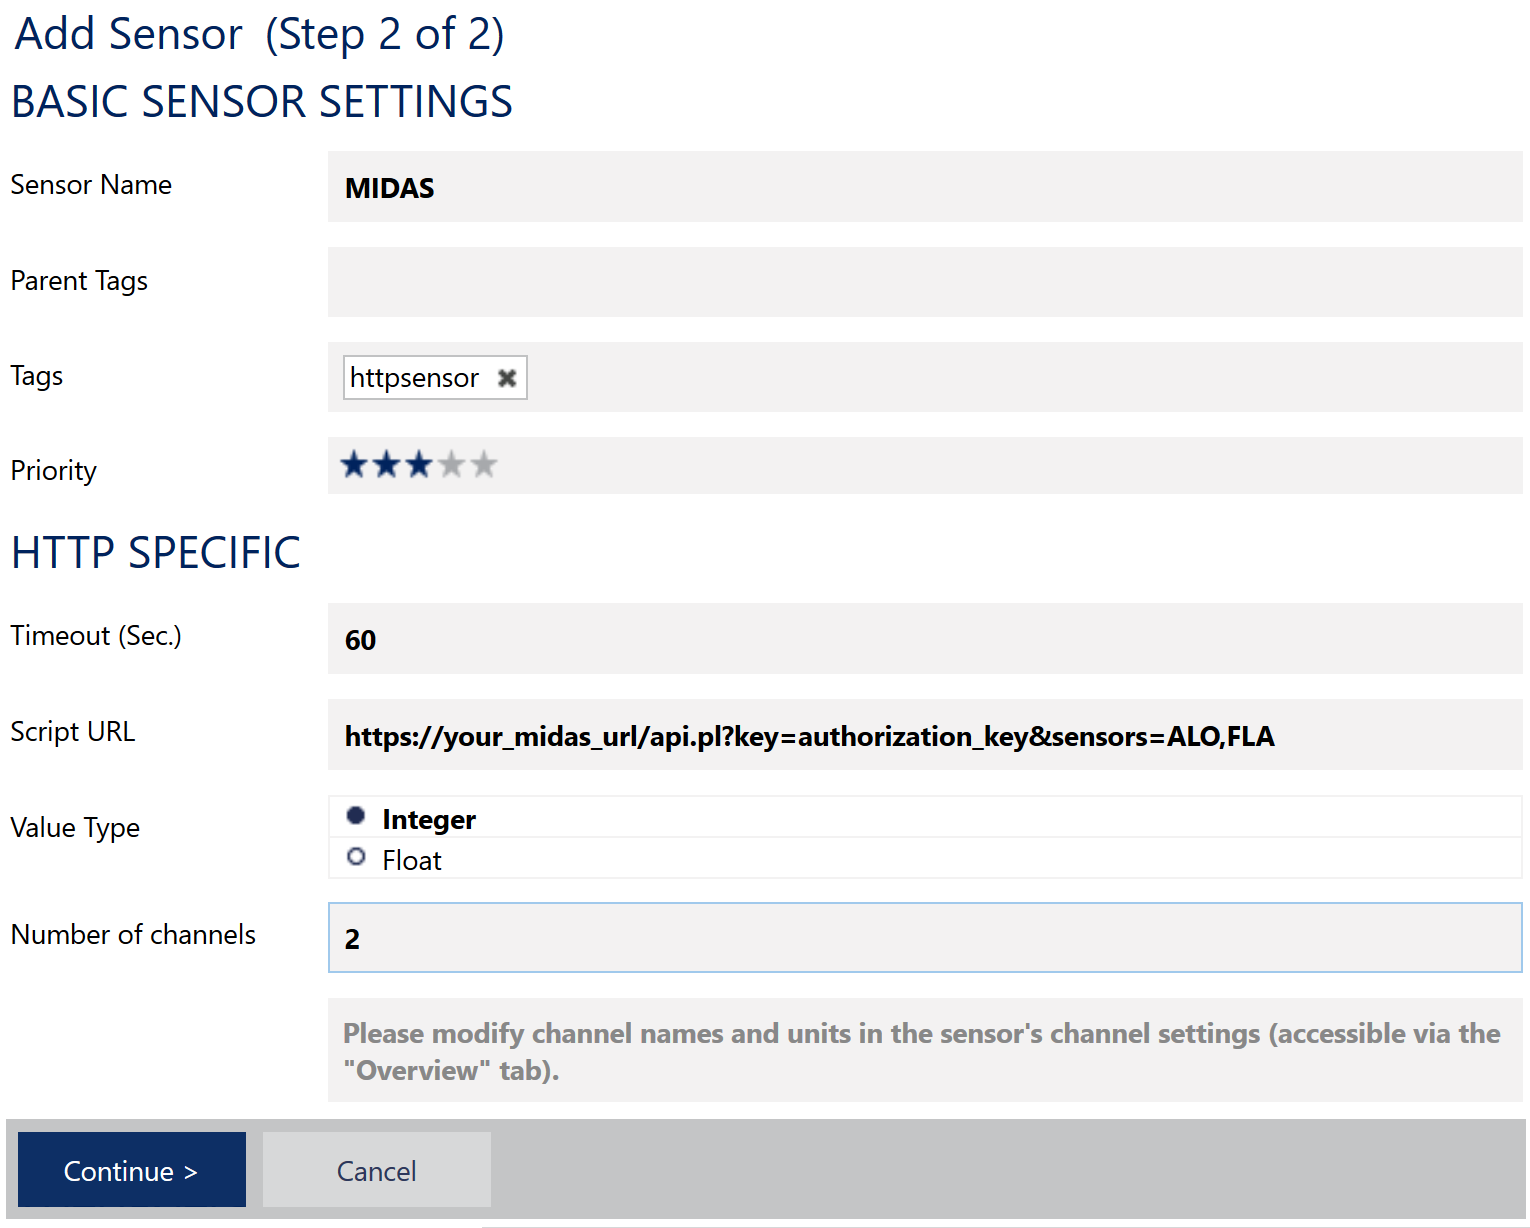
Click "Continue" and PRTG will create your new sensor:
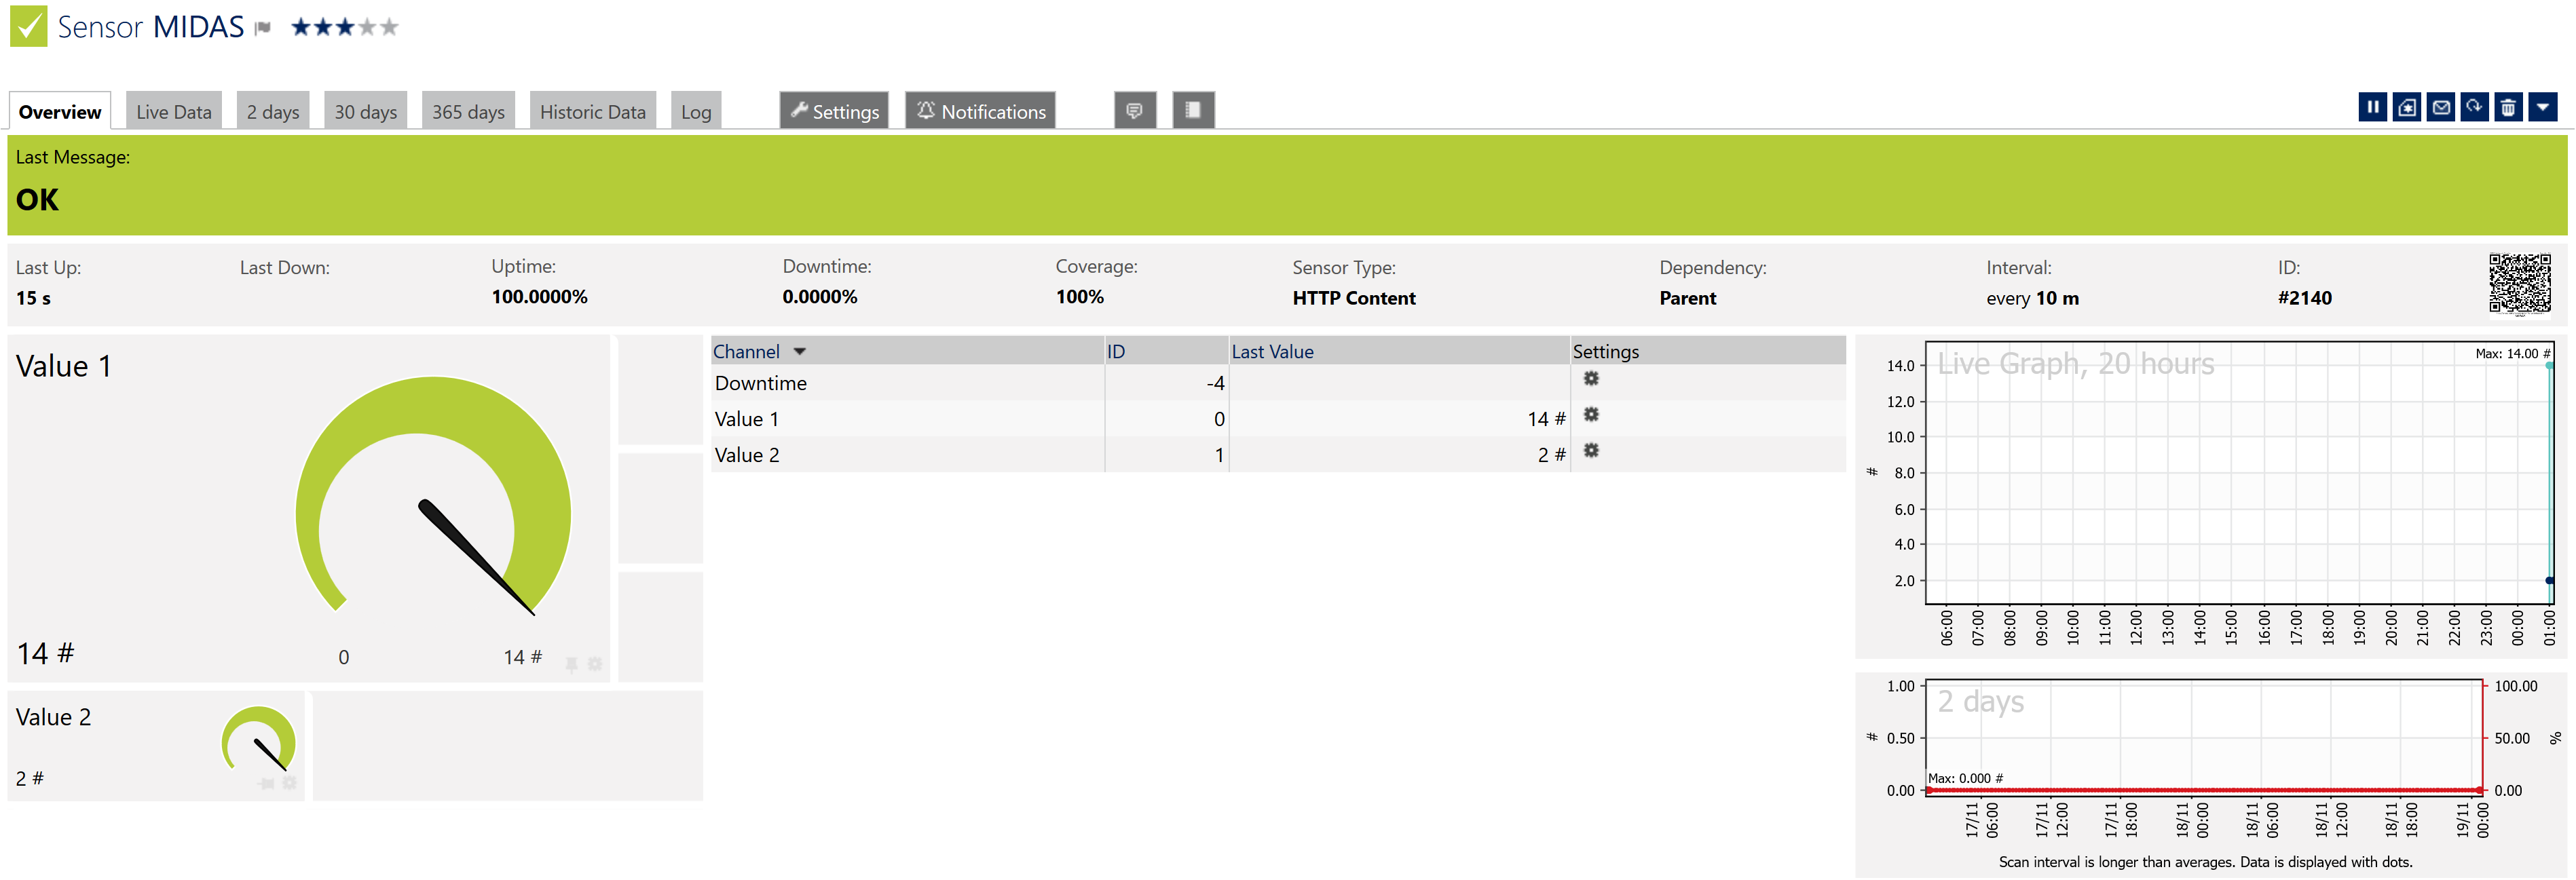
By default, channels in your newly created sensor will be named "Value 1", "Value 2", etc, however, you can rename these to match the corresponding MIDAS parameters being monitored, via "Edit Channel Settings":

Note: The channel order in your PRTG sensor is determined by the order of comma separated sensor codes passed in the URL you supplied. In our example (where the sensor string "ALO,FLA" was supplied), the first channel being monitored is "ALO" (current logins) and the second channel is "FLA" (number of failed login attempts)
Tip: You can use the same URL (with different sensor codes) to create additional sensors within your PRTG installation and monitor other metrics and parameters of your MIDAS system in separate sensors.